WordPress widgets offer an easy way to display additional information on your website without disrupting the user experience.
The only problem is that WordPress by default doesn’t offer many widget customization or personalization features. You need to use a WordPress plugin that lets you change the visibility of WordPress widgets using blocks on your site. This way you can show or hide WordPress widgets or content based on custom conditions set by you on any page or post of your site.
In this guide, we’ll explain how you can change the visibility of WordPress widgets using blocks. We’ll also go over why you’d want to change the visibility of WordPress widgets and some popular plugin options that let you do that.
Why you’d want to change the visibility of WordPress widgets
Before we jump into changing the visibility of WordPress widgets using blocks, we need to understand how and why this is useful.
Display content to specific users
Changing the visibility of WordPress widgets on your WooCommerce store allows you to hide widgets on your site from specific user roles. This means that by changing the visibility of specific WordPress widgets, you can display content to only specific user roles on your WordPress site. It’s also a great way to offer exclusive deals and products to specific types of customers. For example, you might want only subscribers to see your WordPress widgets instead of every user visiting your WordPress site.
Check out our guide on how to show personalized content to different users in WordPress for more information.
Show content on specific pages only
Changing the visibility of your WordPress widgets is also useful for showcasing widgets on a specific page or a post on your WordPress site. This way, you only show content on a specific page or post and hide widgets from everywhere else on your site.
Show widgets based on the user’s device
In addition to this, you can also show or hide WordPress widgets based on the user’s device. This way, you ensure that all users, despite the device they’re using and its screen size, can see your content exactly how you want them to.
Similarly, you may also want to display WordPress widgets based on the user’s domain referrer, URL path, or cookies. This is not only a great way to boost user experience but also allows more people to easily navigate your WordPress site on any device.
If you’re looking to show or hide content based on the site visitor’s screen size, you can go over our tutorial on how to show/hide blocks based on the screen size.
Show widgets based on the cart value or contents
Changing the visibility of WordPress widgets using blocks is also great for displaying widgets based on the total cart value or the total number of products added to the cart. For instance, you can display a coupon code generator or display a free shipping message once the customer reaches the minimum amount. This helps incentivize customers to buy more or add more products to their cart to qualify for the discount offer. As a result, this helps boost sales and increases the average order value of your WordPress site.
Show widgets based on the time or schedule
You can also display WordPress widgets based on time or schedule. This allows you to run sales campaign offers without having to worry about launching them on time. It’s also a great way to launch new product offerings or let customers enjoy limited-time product sales. Once you set the date and time, the WordPress widget will automatically be displayed on the front-end of your store at the correct time.
For more information, you can take a look at our detailed guide on how to schedule WordPress block content on your WordPress site.
Changing the visibility of WordPress widgets on your site is a great way to customize the look and feel of your WordPress site. This way, you can make your WordPress site look unique and stand out from the rest of the competition. Additionally, displaying widgets on the shop page makes your WordPress site more user-friendly. By changing the visibility of WordPress widgets using blocks, you have the option to personalize your posts and pages using “dynamic” sidebar content.
Plugins to change the visibility of WordPress widgets
There are multiple plugins you can use to change the visibility of WordPress widgets on your WordPress site. But choosing the right one for your site can be a challenge.
These plugins let you change how and when WordPress widgets appear on your site. Let’s take a look at some of the options:
Widget Options
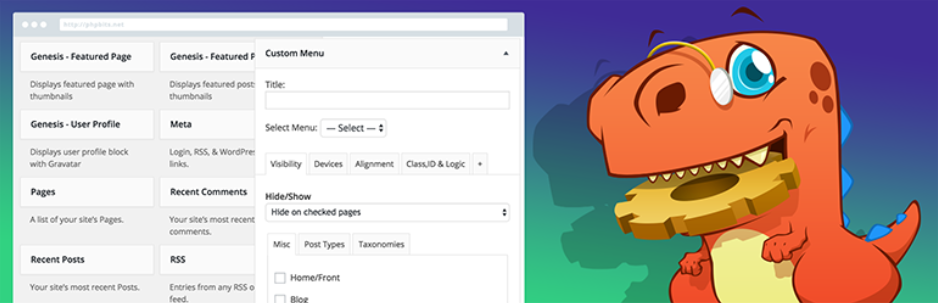
Widget Options is a WordPress plugin designed with simplicity in mind. This means that it offers an intuitive way of customizing and adding context to your WordPress widgets.
You can change the visibility of WordPress plugins by displaying or hiding WordPress widgets on specific pages. In addition to this, you can also show or hide widgets from your WordPress site based on the user’s mobile device, desktop, or tablet screen size.
Conditional Widgets

Conditional Widgets offers a simple yet professional solution for changing the visibility of WordPress widgets on your site.
The plugin lets you fill out a “form” for each widget that lets you choose whether to display the widget on the home page based on categories and sub-categories on your WordPress site. It offers an intuitive way for site owners to display or hide specific WordPress widgets from their site, without having to code.
Lightweight Widget Area Plugin
Lightweight Widget Area Plugin or commonly known as CAS (Content Aware Sidebars) allows you to show or hide WordPress widgets on any page of your site.
It’s a lightweight plugin that offers all the functionality you need to show or hide WordPress widgets on all pages and posts of your WordPress site. In addition to this, it allows you to display WordPress widgets in your theme sidebar based on various conditions.
Conditional Blocks
Conditional Blocks offers a professional, intuitive way of creating unique WordPress pages and posts on your site. You can choose to display or hide your WordPress widgets based on custom conditions. With Conditional Blocks, there are unlimited possibilities for displaying content using WordPress blocks on your site.
Conditional Blocks is a better alternative for changing the visibility of WordPress widgets using blocks. It offers a no-code way of letting you customize your WordPress pages and posts. Conditional Blocks packs native functionality that lets you manage the visibility of your WordPress widgets on your site. This is better in the long run because you don’t need an additional budget and don’t have to put in the effort to install separate plugins for adding functionality.
How to change the visibility of WordPress widgets using blocks
Here, we’ll show you how to change the visibility of WordPress widgets using blocks on your WordPress site. For this, you’ll need a WordPress site and the Conditional Blocks plugin.
Step #1: Install the Conditional Blocks plugin
Start by getting the Conditional Blocks plugin for your WordPress site. It offers the easiest ways to change the visibility of WordPress widgets.
Install and activate the Conditional Blocks plugin on your WordPress website. Next, enter the license key you received at the time of purchase to start customizing your WordPress widgets.
Step #2: Add content to widgets
The next step is to add content to widgets. When using the Conditional Blocks plugin, you don’t have to worry about using other third-party blocks as it’s fully compatible with all default WordPress blocks and most third-party blocks.
Once the plugin is installed and ready to go, navigate to Appearance > Widgets from the WordPress admin panel to add WordPress widgets to your site. Add your preferred widgets to various locations on your WordPress site. Once you’re done, click the Update button to continue.
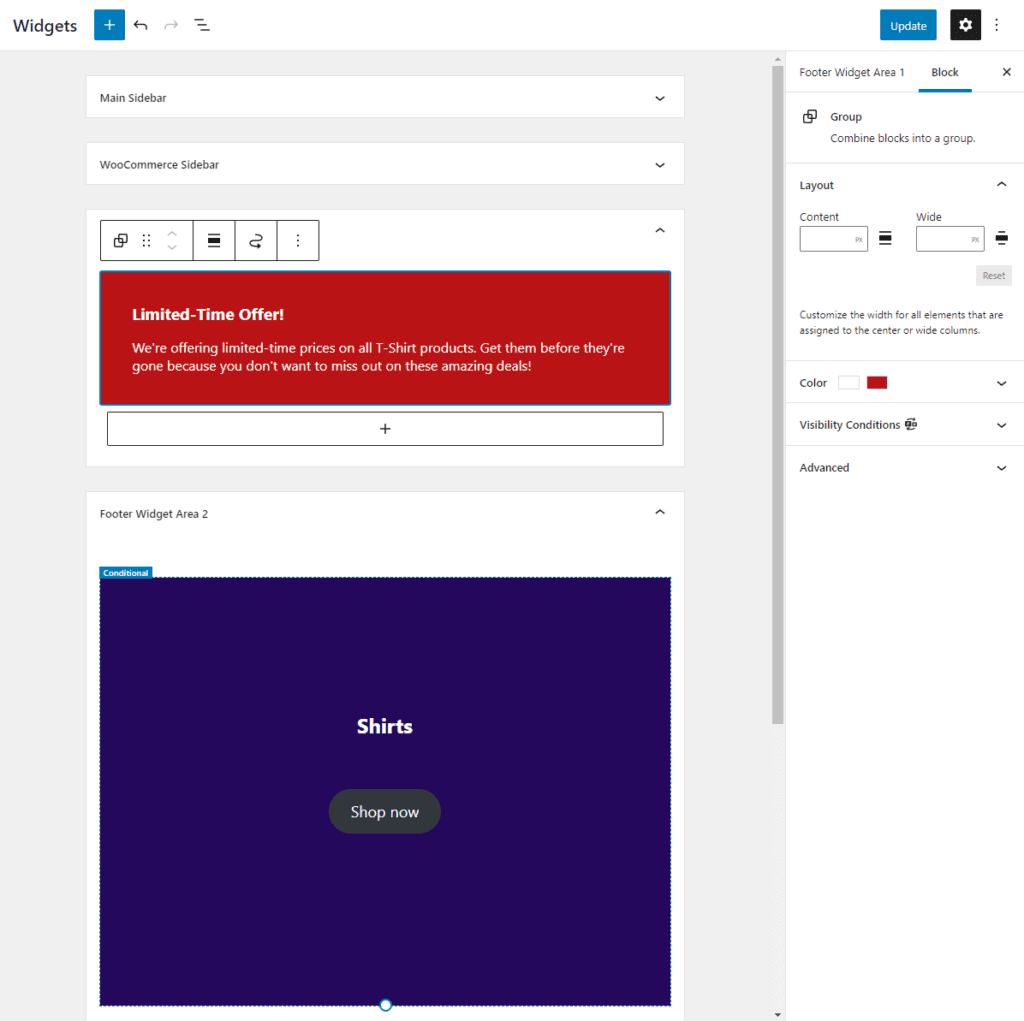
In our example, we’ve added two WordPress widgets to the footer of our WordPress site to create urgency and incentivize customers to buy more.
Next, navigate to the page or post you want to add the WordPress widgets to and click the Customize button to add widgets to the page.
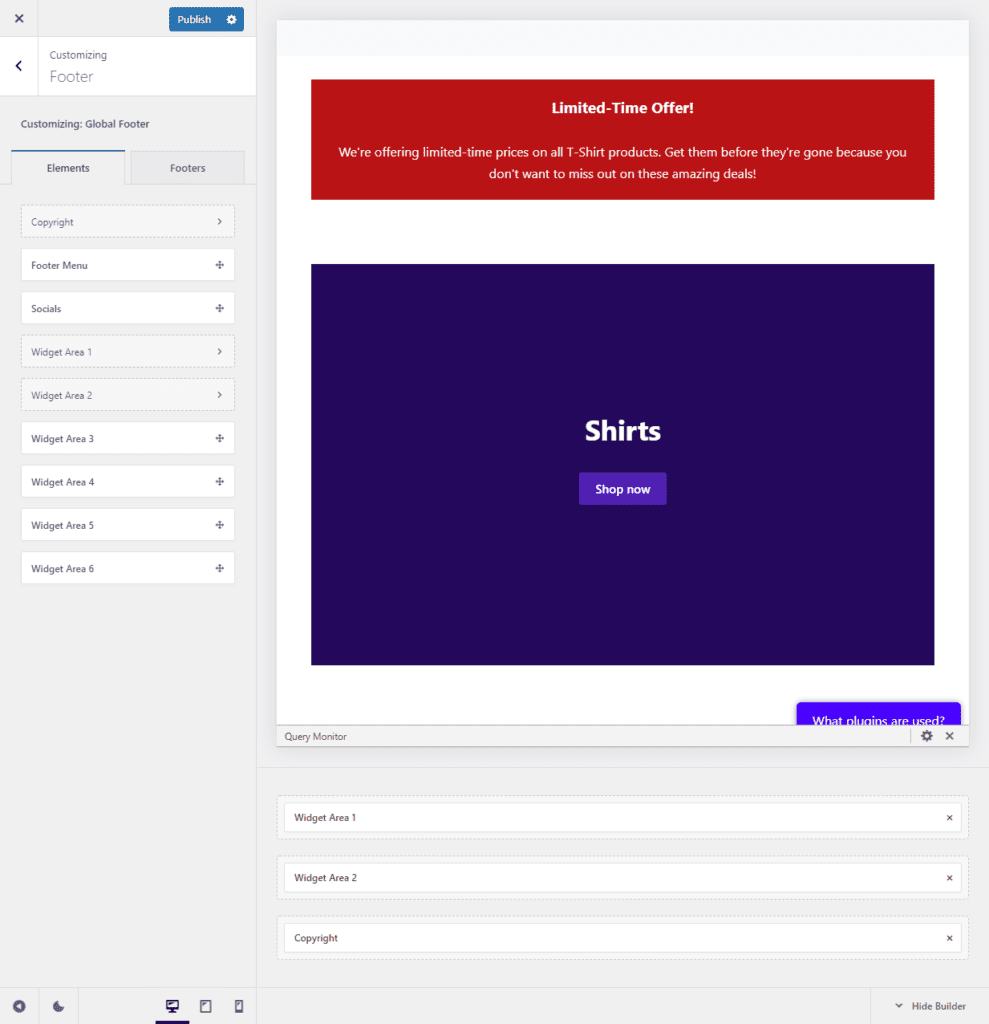
Under the General Options click on the Footer button and add your WordPress widgets to your page or post as desired. Once you’re done, make sure to click the Publish button to save the changes.
Step #3: Configure conditions to show/hide WordPress widgets on your site
Now, we need to set custom conditions to show or hide WordPress widgets on your site. Navigate back to the widgets page by going to Appearance → Widgets from the WordPress admin panel.
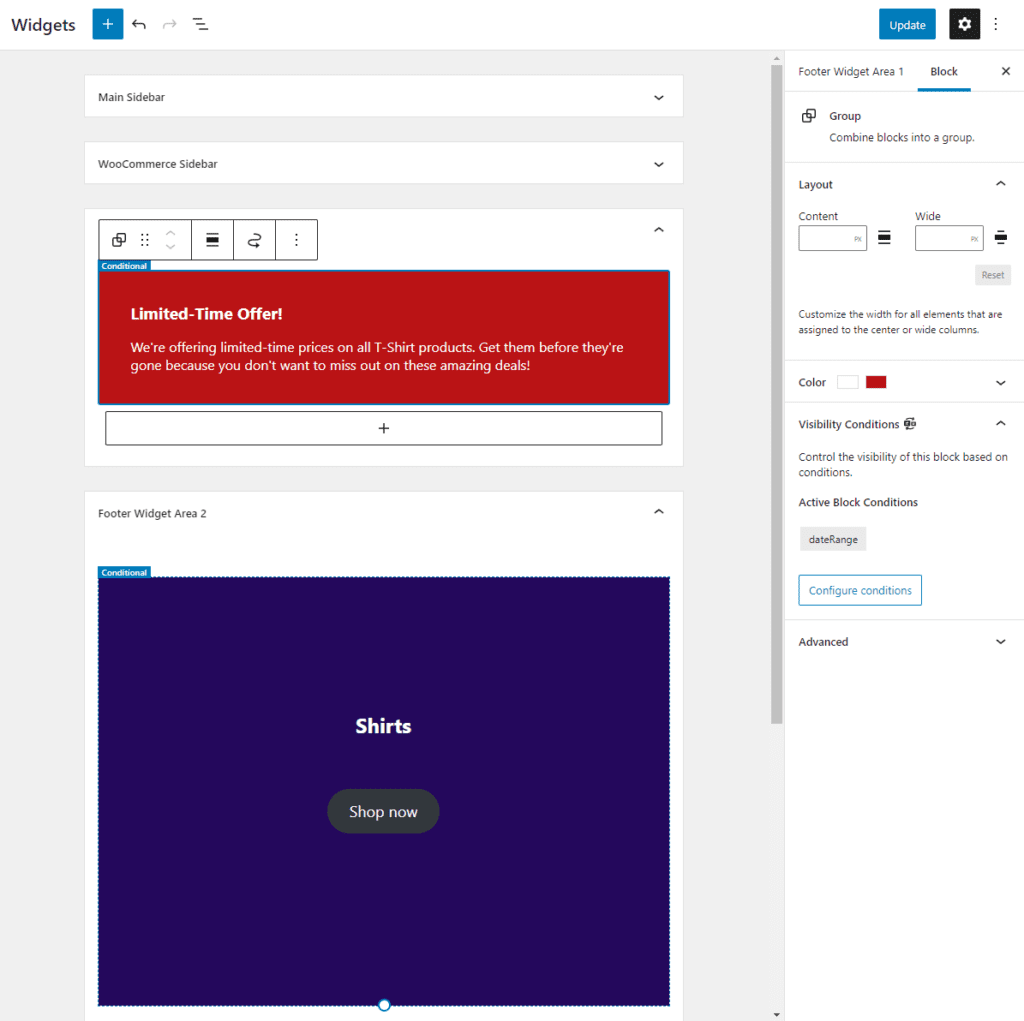
Now click on the widget you just added and from the Block settings, click the Configure conditions button under the Visibility Conditions tab. Click the add condition button to add multiple conditions to show or hide the WordPress widget.
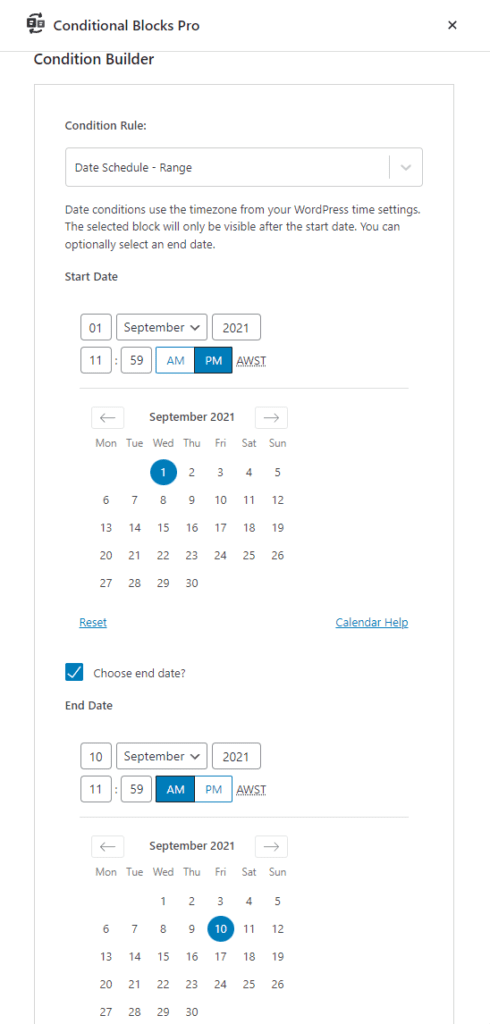
We’ve set the conditions as follows:
- Set a Condition Rule and select the Date Schedule – Range option. Since we want to offer a limited-time discount on a few products on our WordPress store.
- Set the Start Date and you can also set an End Date by ticking the Choose end date? checkbox. This will automatically start and end your sales offer campaign, without you having to worry about timing your sales campaign.
Once the sale time starts, the WordPress widgets will be displayed to all visitors on your WordPress site. It will look something like this:
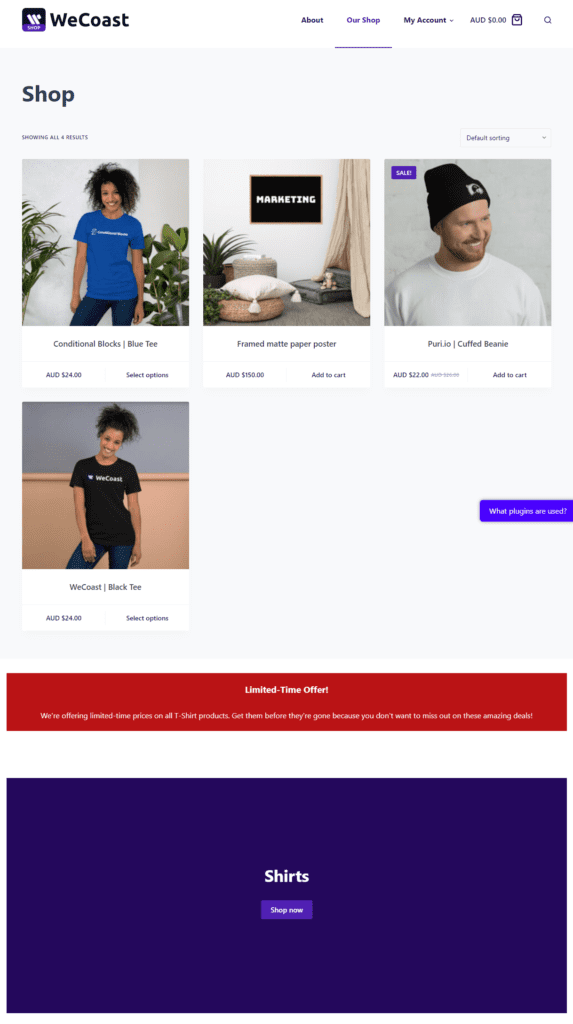
It will automatically hide the WordPress widgets once the End Date is reached. This is great for making sure your next sales campaign starts and finishes at the right time.
With Conditional Blocks, you can easily configure the conditions for all sorts of use case scenarios. For instance, you can display a free shipping discount coupon only for exclusive members on your site. You can simply set the condition to display the WordPress widget only for users with the Member user role on your site.
In addition to this, you can also showcase widgets to customers based on their total cart value or the products added to their shopping cart. For instance, you can display a widget that gives shoppers access to a 10% discount coupon. You can set a condition that will only display the WordPress widget when the customer’s cart reaches a total value of $50 or above. This not only helps boost sales but also increases the average order value.
Conclusion
There are plenty of reasons why you might want to change the visibility of WordPress widgets on your WordPress site. It’s perfect for hiding WordPress widgets from specific user roles on your site, showcasing widgets on a specific page or post on your site, or displaying widgets based on the user’s device or total cart value. The possibilities with Conditional Blocks are unlimited – it caters to your unique requirements and helps you take your WordPress site to the next level.
For more information about changing the visibility of content on your WordPress site, you can go over our guide on how to change the visibility of WordPress blocks and why you should.
Ready to start displaying your WordPress widgets exactly how and where you want them on your site? Get Conditional Blocks today!