The Preset Manager in Conditional Blocks Pro gives you the power to name and build out a preset of conditions. You can then link presets directly to each block.
The Preset manager has two important parts.
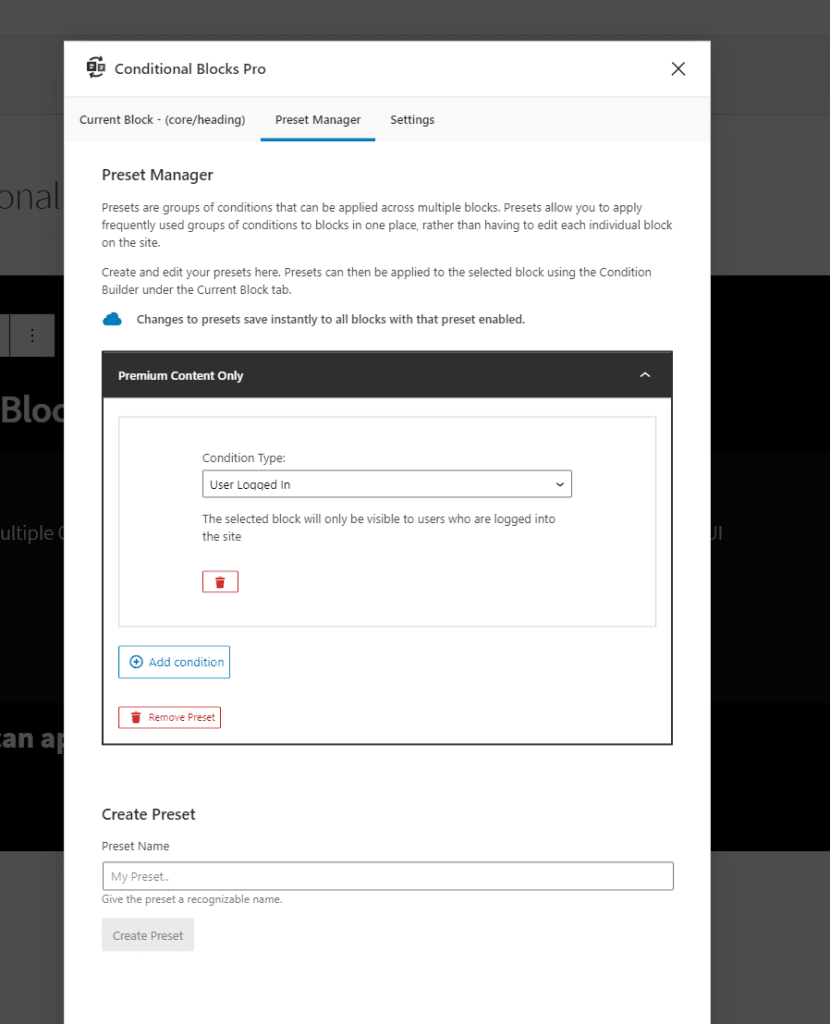
- The Preset Manager – Located in its own tab – Here, you can create and edit the conditions for each preset.
- The Preset Condition – Located in the Condition Builder – Here, you can select your previously created presets and apply them to blocks.
When to use Presets?
Presets are best used when you have multiple blocks across your WordPress site that you wish to be visible under the same conditions. Additionally, presets allow you to edit each condition within the preset without having to manually find and edit each block.
The workflow looks like this.
- Go to the Preset Manager, create “Members only” as a new Preset.
- Add required conditions to the preset.
- When you have a block that’s should be visible for “Members only”, open the Condition builder on the selected block, then apply the Preset condition.
- Select the “Members only” preset.
- That’s it! The block will use the visibility conditions from the preset.
Let’s say that your requirements for “Members only” have changed. You will then need to go to the Preset Manager and edit the preset. All changes will automatically apply to every block where you’ve attached the preset.
TIP: When altering conditions in an existing preset, remember that these will apply to every block on your site that is using that preset!